

 Resto
Resto Balance
 Feral
Feral


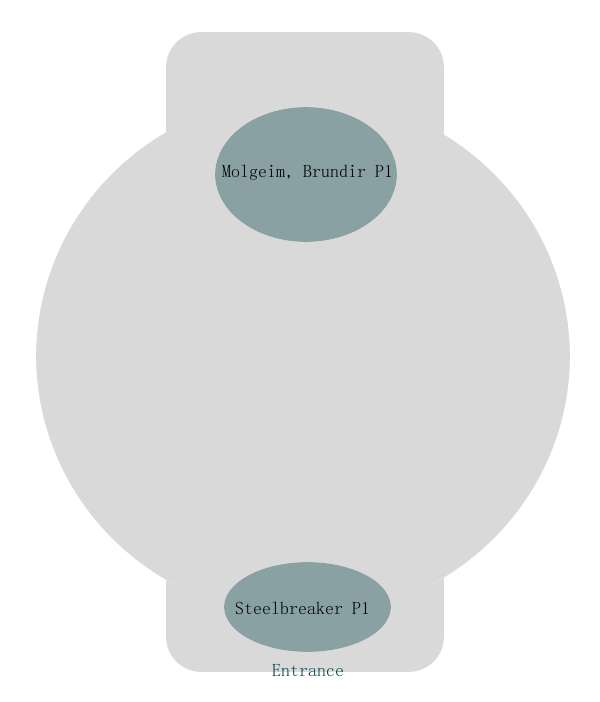
The difficulty level for Iron Council (Assembly of Iron) scales depending on which of the three bosses you choose to kill last. The easiest method is to kill Steelbreaker --> Molgeim --> Stormcaller Brundir; the hardest is to save Steelbreaker for last. Middle difficulty is destroying Runecaster last.
The primary reason you would wish to increase the difficulty is that Molgeim (and Steelbreaker) will drop the Archivum Data Disc, a quest item which leads to being able to summon Algalon. While Steelbreaker is the true hardmode and will drop extra loot as well as the Data Disc, Molgeim is a bit easier and will drop the Data Disc along with normal loot.
If you have killed the "easy mode" before, you will remember Molgeim's abilities:
- Shield of Runes - a damage-absorption shield that can be dispelled/purged/etc.
- Rune of Power - a blue glowing rune on the floor cast under the feet of one of the bosses, that increases damage done by anyone or any enemy standing in it.
- Rune of Death - a giant glowing green rune that hurts anyone standing in it.
- Rune of Summoning - a relatively small, "prickly" black/purple rune that will summon a bunch of miniature air elementals. Don't underestimate these little guys, however: they pick a target and rush towards them, and when they reach melee range, they "explode" for 9-10k damage to all players within 30 yards.
Raid Makeup:
- 2x tanks
- 2x healers
- Mix of melee and ranged dps, with a good dose of AoE
- 1-3 dps interrupts
- Magic Cleanser for Fusion Punch
- Hunter or Shaman for nature resist, preferable
- Prot Pally and Prot Warrior
- Resto Druid and Holy Priest
- Marksman Hunter
- Frostfire Mage
- Destro Warlock
- Blood DeathKnight
- Ret Pally
- Kitty Druid
Phase 1: Kill Steelbreaker
 The Pull:
Have one tank pick up Steelbreaker to tank in the front of the room, while the second tank picks up the other two and tanks them in the back of the room.
Send one or two melee interrupts (one + tank if your tank can interrupt) and one healer with the back tank; the healer for this back tank can position themselves roughly in the center of the room.
One healer, your magic-cleanser, and the rest of your dps should be with Steelbreaker in the front of the room.
| Resto Druids: as a master of rolling HoTs, you may be best-equipped to heal the Steelbreaker tank, depending on what sort of magic cleanses are available in the raid. Even so, HoT up the second tank as the group moves in, so that your HoTs can offset the damage received while the other healer is still moving into place. |
P1 fight:
DPS will work on killing Steelbreaker, preferably clustering together to aid in AoE healing. The tank will need to kite Steelbreaker out of any runes of power cast on him. DPS should stand in these blue runes of power to increase their own damage. Whenever possible, the tank should carefully position the boss so that the boss is not standing in a rune of power, but the melee dps is!
- Fusion Punches should be cleansed off of the tank immediately!!
Phase 2: Kill Brundir
Phase 2 begins when Steelbreaker dies. At this point, Molgeim is now casting Runes of Death and Brundir is able to cast Lightening Whirl. Steelbreaker's tank will run over and pick up one of the two bosses (we chose for her to pick up Molgeim since the other tank already had plenty of threat to allow dps to begin immediately), while dps will switch to killing Stormcaller Brundir.
The Molgeim tank will just be kiting Molgeim around the room, and will not be taking terribly heavy damage except when Molgeim is in a power rune or the tank is caught in a rune of death. While Molgeim doesn't need to be tanked all the way at the other door, he should be pulled back to that half of the room, so that the Molgeim tank is easily out of range of Overload and is unlikely to be hit by any death runes. Ranged dps and healers should not stand too close to the Molgeim tank to reduce the risk of sharing a death rune with the tank.
The Brundir tank will also continue to kite the boss out of runes of power and/or death, and every player needs to be aware of overload casting.
- Interruptors will need to trade interrupting the Chain Lightening and Lightening Whirl as much as possible.
- Ranged players should spread out around the middle and sides of the room to reduce the number of players hit by a rune of death, though dps are encouraged to cluster in runes of power when they are available (though of course not when the power rune is in a death rune!).
- It is especially important that healers spread apart from each other, to be able to blanket the room with heals and not both be caught running from the same rune of death. They should be able to often reach both tanks without standing together, though the placement of death runes may make the healers stand together sometimes.
- All players should monitor where Brundir is being kited, so that they do not get caught in the overload. This includes healers and Molgeim's tank!
| Resto druids: Wild Growth is very useful to cast on a cluster of melee hit by a bit of lightening, or on a group trying to flee a rune of death. Try to cast it quickly on them before they fully scatter out of range of sharing the wild growth with each other. |
Phase 3: Kill Molgeim
Phase 3 begins when Brundir dies. In addition to all of the previous abilities, Molgeim will now be summoning his elemental adds, and this can make things quite chaotic.
Molgeim will need to be kited away from the summoning runes to increase the distance the adds must travel before they reach their targets. The adds CAN be taunted, though taunters must remember that they will explode on everyone nearby (30 yards) for 9-10k damage when they reach you. Healers should also run far away from the summoning runes.
AoE should be laid down upon any summoning runes, and melee/ranged should get as far away from them as they can before beginning to AoE on the circle. Ranged dps should take out the adds that spawn (they will spawn one at a time), and clean up any that escape the aoe. The adds will not explode if they are killed before they reach their target, but they can and will change targets just like any aggro-driven mob! Each summoning circle spawns an add for every player in the raid.
- The adds can be rooted/snared by frost traps, imp blizzard, and totems. It is unadvisable to use frost nova since that requires coming within melee range of the adds.
- Melee DPS should remain on the boss.
- Ranged DPS should prioritize killing the adds.
- Healers and the tank must always move away from summoning runes!
This last phase requires a lot of mobility, and the tank needs to be on their toes about moving Molgeim away from runes of death and runes of summoning. The adds are what will overwhelm a raid here: two consecutive explosions will usually be enough to kill healers and your squishier ranged, and things will spiral out of control from there.
Good luck, and have fun!


No comments:
Post a Comment